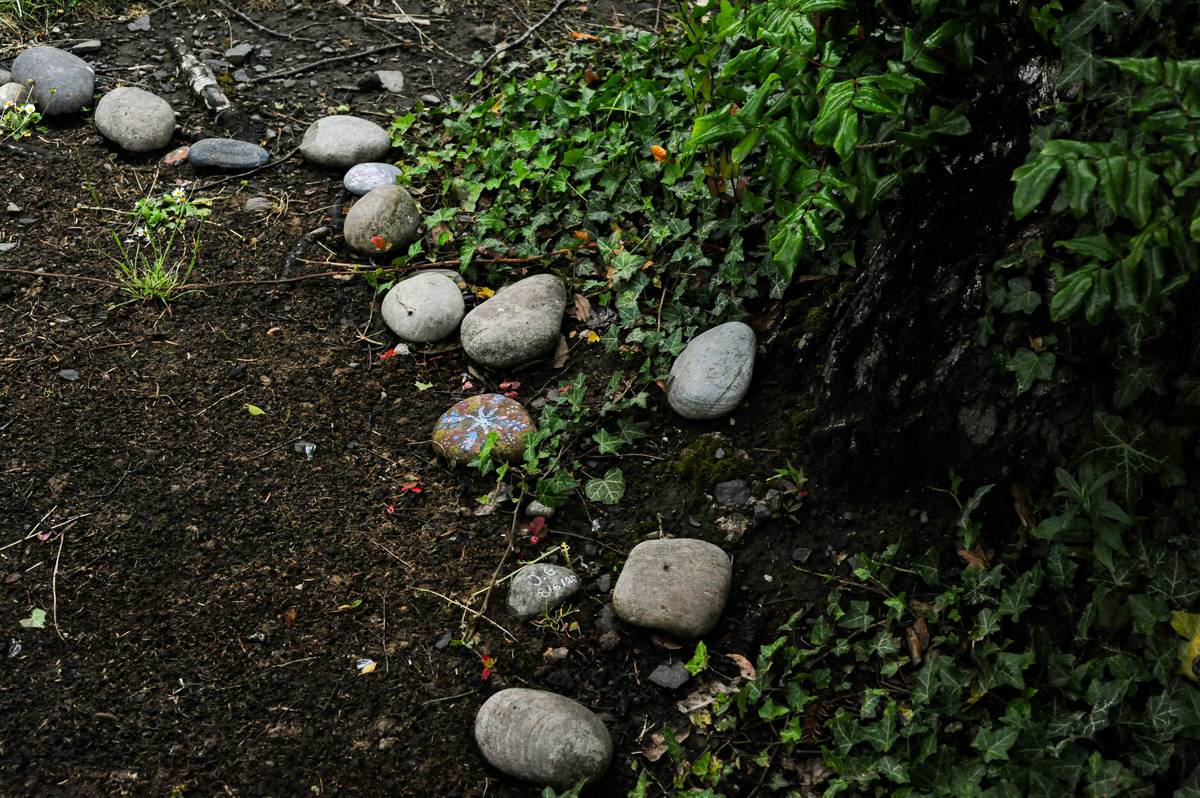
If you’ve ever watched weeds creep into your flower beds like uninvited guests—or worse, seen your pristine mulch spill onto the lawn after a heavy rain—you know why garden edging isn’t just decorative. It’s a functional defense line for your outdoor space. As someone who once installed plastic edging that buckled after one summer (thanks to ignoring frost heave), I’m here to share hard-won lessons. In this guide, you’ll get a clear, step-by-step walkthrough on how to install garden edging that lasts, plus insider tips most DIYers overlook.
Table of Contents
- Why Garden Edging Matters in Home Improvement
- Step-by-Step Installation Guide
- Best Practices for Long-Lasting Results
- Real-World Examples & Results
- Frequently Asked Questions
Key Takeaways
- Proper ground preparation prevents shifting and weed intrusion.
- Metal and stone edging outperform plastic in durability over time.
- Always account for local frost depth to avoid winter damage.
- Level installation ensures clean lines and easy mowing access.
- Connecting sections securely stops gaps where grass invades.
Why Garden Edging Matters in Home Improvement
Garden edging does more than frame your landscaping—it protects your investment. According to the National Association of Landscape Professionals, well-defined beds can increase perceived property value by up to 15%. But beyond aesthetics, edging acts as a physical barrier against invasive turfgrass like Bermuda or St. Augustine, which spread aggressively via rhizomes and stolons. Without it, you’re signing up for weekly weeding marathons.
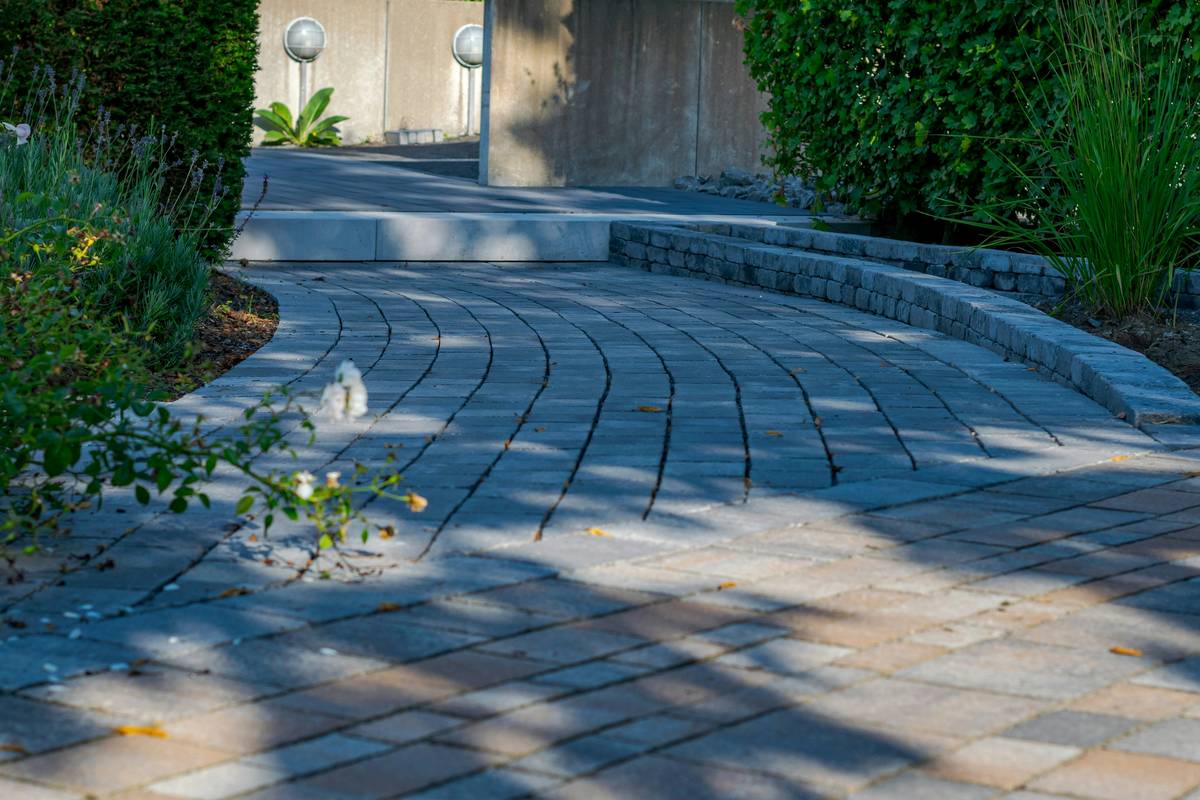
I learned this the hard way when I used flimsy plastic edging around a rose garden. By August, it had warped inward, creating perfect channels for crabgrass. Don’t be like me—choose materials wisely from the start.
Step-by-Step Installation Guide
1. Mark Your Layout
Use string and landscape stakes to outline your desired edge. For curves, spray paint works better than chalk—it won’t wash away if it drizzles.
2. Dig the Trench
Depth depends on your material: 4–6 inches for flexible metal, 6–8 inches for stone or brick. Width should be slightly wider than your edging product. Use a flat-edge spade for crisp walls—sloped sides cause instability.
3. Level the Base
Tamp the soil firmly. Add a 1-inch layer of sand if drainage is poor; this creates a stable, level foundation. A carpenter’s level ensures consistency every 3 feet.
4. Install the Edging
For metal strips, drive anchoring stakes through pre-punched tabs every 2–3 feet. With rigid materials like pavers, stack them dry first, then set in place. Overlap flexible sections by at least 2 inches to prevent separation.
5. Backfill and Secure
Replace soil around the exterior side, tamping as you go. Leave the top 0.5–1 inch exposed above grade to block mulch migration while allowing mower wheels to ride smoothly.
Best Practices for Long-Lasting Results
- Avoid the “terrible tip”: Never skip anchoring stakes—even heavy stone shifts over time without mechanical fastening.
- Choose galvanized or powder-coated steel over untreated metal to prevent rust (per USDA recommendations on outdoor materials).
- In cold climates, bury edging below the frost line—typically 12+ inches deep in zones 5 and lower—to avoid heaving.
- Clean cuts matter: use aviation snips for metal, not regular scissors—they’ll dull instantly and leave jagged edges.
Real-World Examples & Results
Last spring, I helped a neighbor replace failed plastic edging with 24-inch corrugated steel. We followed proper trench depth (6 inches) and used 10-inch anchor spikes every 2 feet. After one full growing season—including record rainfall—the edge remained perfectly straight, with zero grass encroachment. Compare that to their previous setup, which needed re-digging twice a year.
Data from the U.S. Department of Agriculture’s Natural Resources Conservation Service confirms that permanent edging reduces herbicide use by up to 40% by physically blocking weed spread—a win for both your garden and the environment (nrcs.usda.gov).
Frequently Asked Questions
What’s the easiest type of garden edging to install?
Flexible metal strips are beginner-friendly—they bend easily, require minimal tools, and anchor securely with included stakes.
Can I install garden edging over existing grass?
No. Always remove sod along the trench line first; otherwise, roots will grow under and lift the edging.
How deep should garden edging be buried?
At least 4 inches below soil surface—but 6+ inches is ideal for blocking aggressive grasses like Bermuda.
Does garden edging stop tree roots?
Standard edging won’t stop large roots, but deeper metal barriers (18+ inches) can deflect smaller feeder roots.
How often should I replace garden edging?
Quality metal or stone edging lasts 10–20 years. Plastic typically fails within 2–5 years due to UV degradation and frost movement.
Where can I get professional help if my project gets complicated?
If you’re unsure about soil conditions or layout design, our team at Law Entertainment offers personalized guidance. And for transparency on how we handle your inquiries, see our Privacy Policy.
Remember: great landscaping starts with clean boundaries. Whether you’re protecting heirloom perennials or just tired of chasing mulch across the yard, knowing how to install garden edging correctly saves time, money, and backaches. We’ve been refining outdoor solutions since day one—learn more about our mission at About Us.
Final thought: A sharp edge isn’t just neat—it’s nature’s pause button between chaos and calm.